Jetpack is one of the most popular WordPress plugins that includes plenty of features to optimize your website. One of the features is the Portfolio custom post type. Here we will show how to enable it. The way portfolio will display in the front end depends on the theme you are using.
- Install and activate Jetpack plugin. To make use of all features it is recommended to connect the plugin to your WordPress.com account.
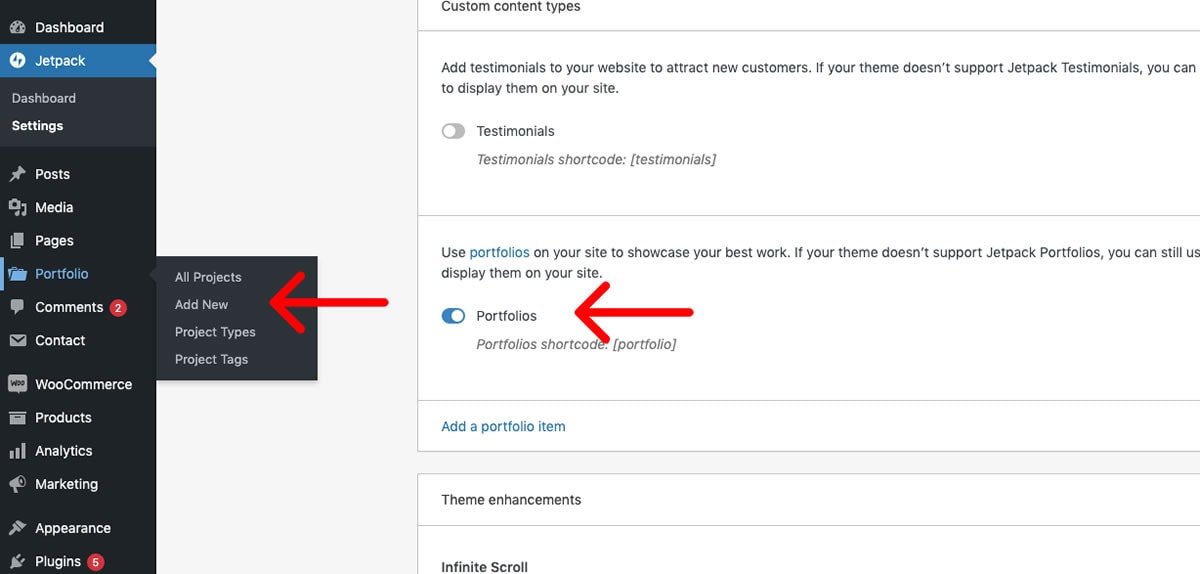
- Go to Jetpack → Settings → Writing in your WordPress Dashboard and toggle on the Portfolio option under Custom Content Types.
- In your Dashboard go to Portfolio → Add New to create a new portfolio entry.
- You can create different Project Types to have multiple portfolios.
- Add a featured image to each portfolio entry. Learn how to add featured images to a page or post →
Here’s how you can add your Jetpack portfolio archive to the menu.
- In your Dashboard head to Appearance → Menus.
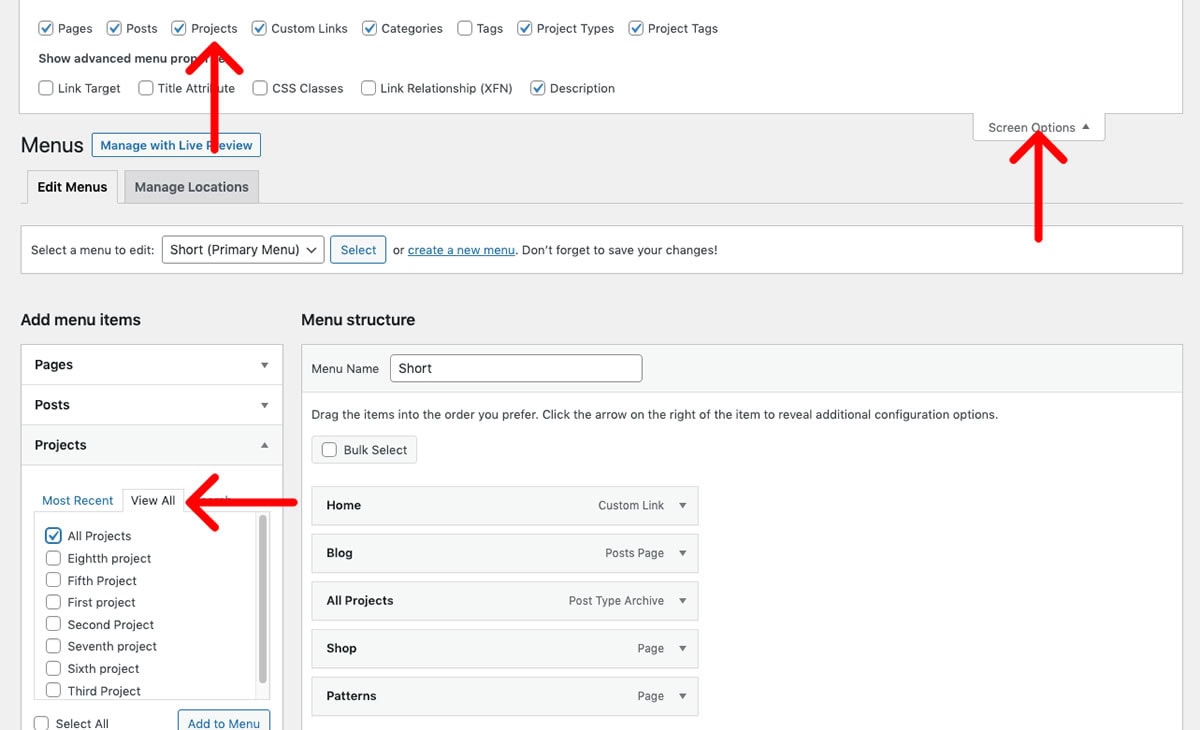
- Click on the Screen Options button in the top right corner and check Projects, Project Types and Project Tags to be able to add them to the menu.
- In the left, under Add Menu Items, select Projects and click View All tab.
- Add All Projects to the Menu, and edit the Navigation Label if you wish by expanding the menu item using the arrow in the right.